Updating Model Tutorial: Difference between revisions
From Legacy Roblox Wiki
Jump to navigationJump to search
>Trappingnoobs Unnecessary TOC tag removed. |
>Trappingnoobs Fixed disambig link |
||
| (9 intermediate revisions by 2 users not shown) | |||
| Line 1: | Line 1: | ||
{{CatUp | Tutorials}} | |||
{{disambig|[[How_to_make_an_auto-updating_model|Making a model update itself]]}} | |||
The first step to updating your model is to open up studio and select the model you want to replace it with. | |||
Now go to studio menu and click file > Publish selected to roblox... | |||
[[Image:Capture.PNG]] | |||
Click the button "Update" | |||
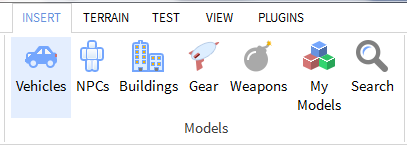
[[Image:Models.PNG]] | |||
Click the select button for the model you want to update and you should be done! Your model is now updated. | |||
[[Category: Scripting Tutorials]] | |||
Latest revision as of 22:57, 9 July 2011
You might be looking for one of these pages:
Making a model update itself
The first step to updating your model is to open up studio and select the model you want to replace it with.
Now go to studio menu and click file > Publish selected to roblox...
Click the button "Update"
Click the select button for the model you want to update and you should be done! Your model is now updated.

